Wednesday, January 24, 2018

Amanda Garrison Assignment 01 : Warehouse

Amanda Garrison
Assignment 01

Woodstock meets Electric Daisy Carnival


The Space: Composition 1: A Occupied Warehouse Party


The concept:

I wanted to do something with all the empty wall space and geometry that I remembered seeing at this private warehouse party.I wanted to add a lot of movement to go along with the beats of the music, so it will energize the crowd and surround everyone in psychedelic patterns.


I first messed around with the animations effects that are in MadMapper already


But then I started to add in edited video that I made in Adobe Premiere to make it wilder.


I was really digging what all you could do with MadMapper.
I had trouble with the mask inside MadMapper, but I feel towards the end I got the hang of it.

The Space: Composition 2: Pre-party Set Up


The Concept: 

Just wanted to play around with the different animations for this empty warehouse scene.
I wanted it to look psychedelic since the music was techno. I wanted it to be colourfull so I made the animations myself from photos of a mandala jar that I made and even edited some video I took using a light up toy. The outcome is very Woodstock meets Electric Daisy Carnival.

Tuesday, January 23, 2018

Mariah Wood : Project 1 Backdrop Mapping


Concept:
This space is on the basement floor of the UTD campus library where it is big and open.Though there are a lot of students in the study and seating areas, this space is relatively quiet and calm so that many may focus and study. I wanted to reflect that kind of atmosphere on the walls so that others may realize the quiet and open their minds to contemplation. If someone was stressed out, they may take a break and look at the projections to dissociate peacefully before getting back to work. Since this is UTD, I wanted to go with the school colors in terms of palette choices. If the library wanted to, they could also project helpful tips and information on the wall for students to see.


Technique:
Since this would be the first time I ever used MadMapper, I spent a majority of my time in the lab experimenting. I watched the tutorial videos, visited during Professor Scott's graduate class, and went around YouTube looking for techniques. I only have the basics down, but I used Quads in a majority of the spaces because that was easier for me to handle and manipulate. Walls and floor and ceilings are mostly square-like, so Quads made the most sense to me at the time. I decided to include lines around the wall projections to highlight and breakup some of the design. This was to accentuate color in the animation and provide smooth horizontal and vertical animation to emulate peace and stability. I layered quads over each other to create more complicated looking animations and designs to be more appealing and eye-catching to viewers. I did the same thing with lines and applied layers of different colors and animations.

Projection 1:

Projection 2:

Interpretation:
So far my work has just been an exploration of the layers and animations capable in MadMapper. It didn't even occur to me that I could upload some of my own material (videos, textures, etc.) until now. However, my projections can be used to either help bring a certain mood to the library or to allow the campus to reach out to students and faculty with messages, new, and updates. These projections in this space would not have worked as well if I wanted to make the piece political, since this is literally a corner in the library's basement. A bigger canvas with more visibility to an audience would help making a more interesting setting for a piece of art or political stance.

Monday, January 22, 2018

Ritwik Kaikini : Project 1 Background Mapping (Library Disco)

Ritwik Kaikini
01-22-2018
Project 1 Background Mapping - LIBRARY DISCO

The Space:
Fig 1.0 The Library (1920*1080 : image size)
Concept:
A library is a silent space to contemplate and study. Silence Please! As a born rebel, I always like going against norms. I wanted to transform this entire space into something which speaks its opposite self, like a mirror image to its silence and dormant nature. I wanted to transform it into a disco of dancing light.  The interiors of a library is also filled with geometrical natural quads, namely,  books, cupboards, shelves, racks, doors, floors and ceilings.

Technique:
  • I set the background image on MadMapper as the above fig 1.0. Made sure the projector size is same as the image size.
  • I divided the left and the right racks on each shelf into several quads, grouped them together as seen in fig 1.1. 

Fig 1.1 Quad separation of shelves

  • I also divided the floors and the ceiling into quads. 
  • I kept empty racks at the top/bottom on the left and right. I placed groups of Lines here, vertically inclined as in fig 1.1. 
Fig 1.2 Quad additions

  • I added more quads to the left most wooden face of the cupboard and towards the interior till the door in the distance. 
  • Fig 1.3 Mask additions to door and floor
  • I then masked a few patterns on the floor quad and the door quad as seen in fig 1.3.
  • Fig 1.4 Middle Quad addition
  • Finally I added a quad in between the two shelves like another door as seen in fig 1.4.
Interpretation:
Played around with all possible settings and iterations, using the materials on the right.
Here's a video of one of the presets : 


Music by Synctote: https://soundcloud.com/tornpages/hypnotick-3674


PROJECT # 1: Back Dropping Images by YOOBAE KIM


Below is a compilation images


Assignment 1                 MadMapping with Photo Images


Concept and process

When I had studied on art subjects I realized that array of buildings in the downtown Dallas areas was exemplified as good type of art form. The buildings themselves were shown large structure with multiple designs.

For my final object of the assignment 1 I decided to use the modern building of Court House in Dallas.  Each time I would walk through the street.
 I chose two different locations in order to experiment with different textures and abstract notions. Locations include two buildings in Court Houses, one old house and another modern building.

Because of the limited nature of my skills and knowledge in MadMapper, my process was simple: mask and simple edits like color and speed.  At the beginning stage, I also only made exercises with the contemporary building.


Vic Simon: Project #1 - BackDrop Mapping (Week 1-3)

Vic Simon - Project #1 - BackDrop Mapping (Week 1-3) 

This blog is a record of my creative process and learning in accomplishing the first project of five in ATCM 6395.001 - Special Topics in Arts, Technology, and Emerging Communication, Projection Mapping. (Spring 2018)


Week #1 

Week 1 opened with ProfScott giving an overview of the class and getting to meet and interact with the other members of the graduate studio class. 

It is an exciting group come together in ScottWorld. I am familiar with several of my classmates - KuoWade, Paulina, Travis, MrKim, & Ritwik. MOSS is an ever-present, ubiquitous member of ScottTeam and especially valuable to this class as an adjunct with his AE skills. Morgan is a new exciting and talented artist. And we have PostDoc Jerry Robinson (sitting in) to give us unique inputs. Welcome Jerry! 

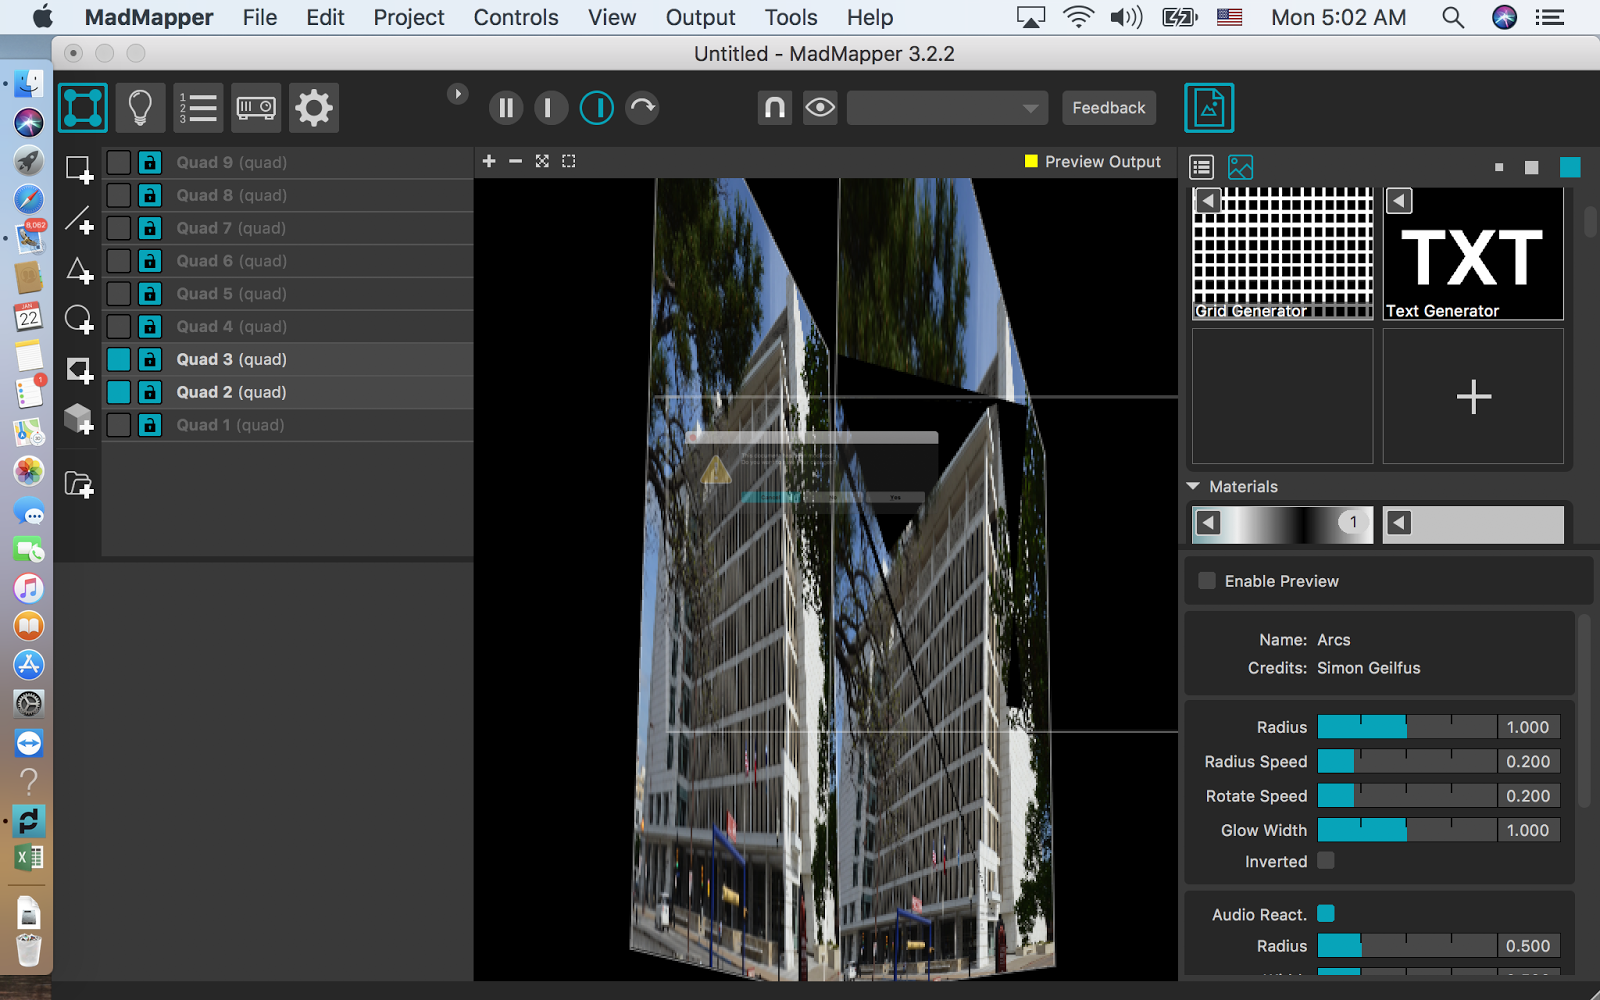
I spent most of the week getting reacquainted with MadMapper (MM) which I was fortunate to use a year ago in ScottWorld's 'Breathless' Project. We have moved on to version 3.0. 

I rewatched the first 14 short tutorials (of the 'Basic' playlist (x22)) that Prof linked to, to get re-acquanted with MM interface and basic concepts. The very first tutorial is definitely the hardest, and should probably be watched at the end. Overall, the short tutorials are quite good and comprehensive, although the computerized voice takes some time getting used to.

I AM so jazzed (and blessed) to be able to be part of ScottWorld ! Thanks. Keeping me 'sane'.

Week #2 - "LightUpDallas"

The first project (of five projects) is due on 22 Jan with Crit (and this Blog). It is a relatively simple MM BackDrop project using projection mapping concepts on a selected background image. (No audio).

I appropriated a gorgeous HD image of the night Dallas skyline of the web. 


I loved the stunning reflections in the water and sumptuous saturated color palette. I probably could have taken the time to take my own photograph, but I elected to focus the time and effort on working and learning MM.

The first step was to convert to a standardized 1920 x 1080, 72 dpi, image format for a 'simulated' projector. 

I chose a few of the unique, seminal buildings in the image (Reunion Tower, Omni) as mini-projection surfaces to animate to explore basic quads, triangles, and circle mapping.

I chose to use the basic built-in generators and material options in MM to animate the Dallas SkyLine  
in my composition that I call "LightUpDallas".

It is inspired by ProfScott's vision to have an entire integrated city of Dallas Projection Mapping event! It was also informed, and inSpirEd by ProfTravi's previous work on a 3D model of downtown Dallas last semester.

I used simple object maps generally, but did use a Quad mask (In The Quad option) on the irregular Omni shape.

I explored several of the parameter options in both the generator/material content and quad opacity and blend modes. 

I explored the custom layer naming, and group by layer group naming based on separate buildings.

They ever-present vestigial white outlines disturbed me, but I suspect they disappear with projection or screen capture?

I then captured an animation video of the composition using the Syphon tutorial (Mac OS) that Prof provided.

Here is my finished work, "LightUpDallas":


Week #3 - "PopATEC"

I decided I wanted to do another image using my own photograph that used external mapping content outside of the built-in assets of MM.

I took several nighttime photos of our BeLovEd ATEC building concentrating on the 'Front' SouthWest corner and our own 'Back' NorthEast Corner. I chose one of several NorthEast corners on which ToPlay.


I have been researching one of the great American PopArtists, Roy Lichtenstein, and decided I wanted to create a second MM composition as an homage to this brilliant, and famous artist.

Inspired by the live and artwork of Roy Lichtenstein, I call it, "PopATEC".


I found several interesting sort animations (8 total) on giphy.com's "Lichtenstein" page. I added an additional two static 'Lich' images found on the Web.

I also used the Text generator to create a animated textLogo. I even found and purchased ($20) a classic "Lichtenstein" font based on his iconic, hand painted, text style. But I could not get the font to show-up in MM. So, I used a different built-in font. Very little is offered in the MM archives about how to add fonts into MM. Any ideas?


"The use of Ben-Day dots was a hallmark of American artist Roy Lichtenstein who enlarged and exaggerated them in many of his paintings and sculptures. Other illustrators and graphic designers have used enlarged Ben-Day dots in print media for a similar effect."

(Ben-Day)DotsGalore! 

ClassicIconicLich ~ DotMan


- Roy Lichtenstein, Cap de Barcelona, sculpture, mixed media, Barcelona. This is technically the verso (back) of the sculpture.

3D Projection Map This (LichSculpTure) !!!!


This is the resulting 2D composition that I created, "PopATEC":


Morgan Grasham Project 1: Background Mapping

For this assignment I came up with two compositions for two spots on campus that are in central locations but are often overlooked and underused. I also considered where the projector would be set up so that it wouldn't be in the way of passersby. For McDermott Library, I created a two-projector piece to raise awareness of the amount of trash and plastic in the ocean. On the tower, trash flows down the steps towards the whales below. I used lines as directional indicators flowing the trash towards and into the ocean scene. The idea is that over time, the footage of the whales would change into footage of animals trapped in plastic garbage. The second composition takes place in a lonely alcove along the Student Union building. Last semester, I found a dead pigeon in this spot, and over the course of several months I watched the bird decompose. I watched the maggots and ants carry off the bird until all was left was feathers. As morbid as it was, it reminded me of home in the woods of east Texas. So I used Madmapper to commemorate the bird and to turn a literally dead space into a meditative corner. Here I used lines to emphasize the upward motion of the drone video and create a feeling of elevating and transcendence.

I started by photos I had taken on campus, and uploaded them as backgrounds. Using quads I marked off surfaces I would project on. Then on each quad, I masked off areas I did not want projected on, including trees (I don't recommend this--just use Photoshop). I found videos on Youtube, imported them, and assigned them to quads. I found that an essential part of Madmapper is using the input screen to adjust what is shown. I meticulously rearranged my quads in the input screen until quad groups where seamlessly sharing one video. The last step was adding lines to add movement and directional emphasis.

This was my first time using Madmapper. I am coming from a background of little digital work; I mostly use Processing and Movie Maker to make videos. I found the user interface to be very friendly. The masking tool is limited but works for basic geometric shapes--Photoshop would make masking complicated objects much easier. Overall I enjoy the program and think there is a lot of potential for critical aesthetic work, especially in combination with videos and interactive capabilities. This is a great way to install a large scale piece with little investment. I would like to use Madmapper to make more interactive socially engaged pieces in the future.


Travis Fowler: Project 1 Backdrop Mapping

Concept:
The area I selected is the South and West sides of the alumni center at UTD. I chose this area because it was close to the lab and can be seen from the windows of the 3D studio. A potential candidate for mapping from inside the lab (on the West side at least). I wanted to stay to simple color schemes for each composition. I also chose to animate each composition slowly because they were not music driven.

Techniques:
Mad Mapper is a very intuitive software to me. I break the madmapper world into two parts: you define a 2D space in the texture area with your content, then you adjust that 2D surface in 3D space by matching the perspective and contours of a building. The first composition is very tame, I was trying to create a mapping that could be played over an extended period of time (hours) without repeating content. The second mapping is much more involved. The patterns are either controlled with a random element or with a timing element. This helped me evaluate the mass of tools and filters native to madmapper that I will use as parameters for the content in upcoming projects.

Interpretation:
This project was much more of a exploration of the tools than a socio-political stance. That being said, I gained a few insights to the projection mapping practice. TREES will be in the way, sometimes they can be dealt using masks but the fact that they sway and move means they will DEFINITELY cast shadows. YOU CANNOT PROJECT DURING DAYTIME. The background image I used was taken during the day and the compositions I created would be impossible to recreate during the day. The sun always wins. Moving forward with projection mapping I will be drawing heavily from an artist I referenced in my L.E.D. sculpture, James Turrell. I am looking forward to using projection mapping to transform public spaces into public interactives that evolve slowly over long periods of time and that have the ability to attract without being distracting.


Paulina Mejia - Week 1 - Background Projection

In my work I am obsessed with the changing aesthetics that comes with the rise of digital artwork. Coming from a traditional painting background, I see pixels as a kind of paint stroke. As I began to explore Madmapper for this week I kept in mind how our view of the surrounding landscape may change as we become more digitally centered.

The area I selected are places within the ATEC building that are grand in scale to create an immersive environment. I wanted to create compositions where the viewer felt to be in the projection and not as something that's just against the wall. This way the pixelization of the environment could feel like it is lived in.

After an initial couple of compositions to become familiar with the tools in Madmapper, I created a third composition that is less focused on methods and design techniques. I wanted to create a world that is evolved from the bombardment of advertising and images that surrounds us as we become more reliant on our digital devices. Already we see billboards every mile on the road, so in this vision I build off of what is already a norm for us and think of how commercialism will evolve and become even more intense with the ease of projection mapping.


Maritza Soriano: Project 01-Backdrop Mapping

Concept: Since this was the first time I've ever done something like projection mapping, I decided to go with something not too big, and familiar. I also wanted to try to find places that had a lot of flat surfaces to play around with. I tended to stay around the ATEC building while looking for possible shots, and did venture out to the library at some point. My biggest concern was finding interesting but simple shots as a starting point. Once I found my photos, I wanted to see if I could find a sort of story or message to tell with my image. I settled on one of the side entryways to ATEC, and some visual inspiration from "Come Find Me" by Sigma (featuring Birdy).
For my second composition, I Wanted to utilize the big curved wall in ATEC. I thought these two walls would be great message boards. While the slabs are more for decoration.


Technique: 

I started off by laying down all of my desired quads, that way I could just drag and drop effects that I thought seemed fit for my idea. After that I started putting masks on the layers that needed them, and then grouped my extra mask layers to their respective "section." Each flat surface had their own little subsection and group (if extra masks were required), and then I grouped them all into 3 big groups (Left, Center, and Right). After the base was laid out, I started experimenting with different effects. I wanted to capture the sporadic and frantic energy from the Music Video, while also trying to make sure the composition as a whole didn't feel too overwhelming. The majority of my materials/effects flow in the direction of the door, directing the viewer in that direction. I debated on putting the lyrics "Come find me" in there, but I couldn't find a typeface I liked, nor could I figure out the kind of effect that I wanted. 

For the second composition, I tried my hand at a grid in order to utilize the scoring on the big curved wall, in hopes to give the projection more depth. However the effects that I went with, didn't showcase that very well. I went in with the noise effect, and then overlaid it with the "wobbly circles" effect to make it less harsh. For the other slabs and walls, I went with more randomized geometric designs that are reminiscent of loading screens, and the geometric design outside of the building (Where it says "Edith O' Donnell arts and technology building), in order to establish a sense of unity. In order to bring in a splash of color without getting too crazy, I sticked with UTD's color scheme of green, white, and orange 


Interpretation: After going through the tutorials over MadMapper basics, the software was pleasantly easy to use and grasp. Granted I'll need to learn more about it before I can make anything amazing in it, but the simple and user-friendly interface was a breath of fresh air. I can't wait to delve more into how to properly utilize subdivisions and mixing different affects/layer styles.


Falak Jamma- Project 1: Backdrop Mapping

Concept:

Going into the project I found myself troubled with what exactly I could do that I would be proud of. But the bigger issue was program knowledge. Watching the tutorials on madmapper not only helped me learn the program, but also helped me really understand what truly is possible with my own hands. I knew that If I learned about it the ideas would just come naturally. So I went around and took pictures around the house and tried eventually found an interesting area, a corner near a door and television.

Composition 1:


I brought in the photo I took into Photoshop and cropped it to 1080p and also masked some key objects that would help me put everything together in madmapper.


I mostly used the first Composition to learn the software. I decided I wanted the television to have an interesting animation that was green. Green is the color of the plants near the TV, so i thought it would be best to match the composition with that. I also made sure to have any movement go the same direction, like the floor and the television movements.
                            .
Video:
                                 

Interpretation: Great practice and learning session. This really let me know what I can truly do with the projection mapping tools. Though it isn't as complex as i'd like, I still gained a lot from this piece.


Composition 2:

With the knowledge I gained from working on the first composition, I set out to make another using the same image but incorporating the skills that I have with Adobe After Effects. I was going for a science-fiction feel. More blues and subtle glows.
 I used a still image of a simple man and animated him using the puppet pin tool. Also adding some interesting streak lines for a sense of motion. After adding a final glow, I rendered the sequence and imported it into madmapper.

I applied the video as a material onto a test card and applied it to the television in the composition. I also extended it into the background wall. I wanted the character to transport from the tv to the real world using the door. To sell this I added a portal-like effect to the door and a blue subtle glow coming from the ground.

Video: 


Interpretation: Using Madmapper in combination with other creative software that i'm proficient in will truly set me apart for the rest of the world. This composition has only made me more excited about meshing my prior knowledge with the tools.